FRP Pipe Installation

Please note, this is a technical article describing the steps to a successful FRP joint installation. If you are looking for information on RPS Field Service installation, please go here.

In our previous article, we looked at basic principles for designing and fabricating supports for an FRP piping system. In this, our final article in the series, we are going to take a look at installation of FRP piping systems. 

While installation might not typically be considered as part of the pipe system design, it is such an important part of a successful system that we believe it needs to be emphasized here. Without doubt, more issues arise in FRP piping systems due to improper installation than due to any other single cause. There are a number of steps that must be followed to provide assurance that problems won’t arise later, and also to comply with the requirements of ASME NM.21.
Sequential Steps in Successful FRP Pipe Installation

These steps include

  1. preparation of a suitable bonding procedure,
  2. qualification of the bonding procedure,
  3. qualification of the bonders, and
  4. hydrotesting of the system.

Let’s look at these steps in more detail.

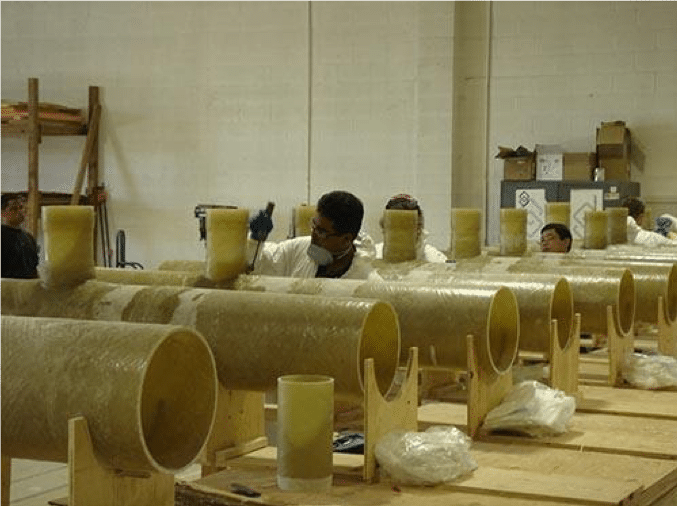
For any FRP piping system, the manufacturer should prepare jointing instructions that apply to the specific piping system of interest. This would include general instructions that apply to almost any FRP jointing operation, and should also include specific instructions for each type of joint and each size of pipe of interest. General instructions would typically address issues such as safety, required tooling, appropriate ambient conditions, surface preparations, etc. Specific instructions would include laminate sequences and reinforcement dimensions. Collectively, these instructions are referred to as the Bonding Procedure Specifications or “BPS”. This is the terminology used in the ASME piping codes, i.e. B31.1 “Power Piping” and B31.3 “Process Piping”, as well as the new ASME standard for FRP piping, NM.21, and is completely analogous to the Welding Procedure Specifications used for metallic piping systems.

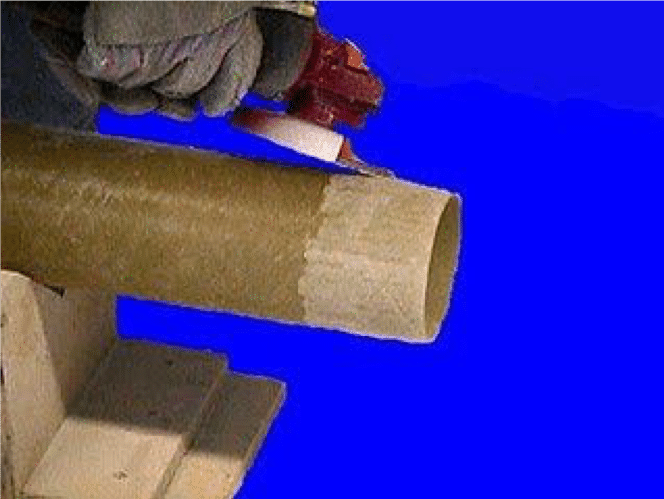
While all of the instructions must be followed for proper jointing, it is worthwhile emphasizing the need for proper surface preparation. It is probably safe to say that no single step in the jointing process is more important than the surface preparation. If this is not done properly, there is a very good chance there will be problems later.

Once the BPS has been prepared it needs to be qualified. There are a number of differences between B31.1 and B31.3 and NM.2 with respect to the requirements for procedure qualification, but in all cases, a sample spool must be assembled, examined for quality, and pressure tested. In the case of B31.3 and NM.2, the test spool must include each type of joint to be qualified, and the spool must survive a pressure test of 3 times the design pressure for 1 hour. A record is prepared to document the specifics of the jointing process and the results of the qualification testing. This record is referred to as the Procedure Qualification Record, or “PQR”.

Once the BPS has been qualified, the bonders themselves must be qualified to make joints using that procedure. The first step in this process is to ensure the bonders are properly trained. This would typically include a 2 – 3 day training course by the pipe manufacturer, and would address all aspects of bonding from proper storage and handling of materials, to joint preparation, and laminating techniques. RPS regularly conducts these types of courses for 3rd party installation teams and owners’ maintenance staff. RPS can also provide further installation services including quality control of jointing operations, supervision of installation crews, and full responsibility of jointing and installation activities.

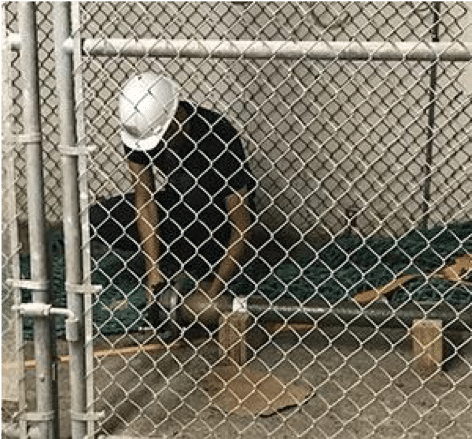
After a bonder has received appropriate training for the type of joint to be made, he/she assembles a similar test spool to that used for the procedure qualification. Again, the spool has to be examined for quality and pressure tested. The same requirements apply for the bonder qualification as for the procedure qualification. Each qualified bonder is assigned a unique identifier so that each joint made by that bonder can be traced to the bonder. A bonder remains qualified to the procedure for as long as they continue to make joints using that procedure. A bonder would have to be re-qualified if he/she did not use the procedure for more than 6 months, or if there were any reason to question the bonder’s ability make joints to the BPS.

A record is prepared to document the results of the bonder qualification. This record is referred to as the Bonder Qualification Record, or “BQR”.

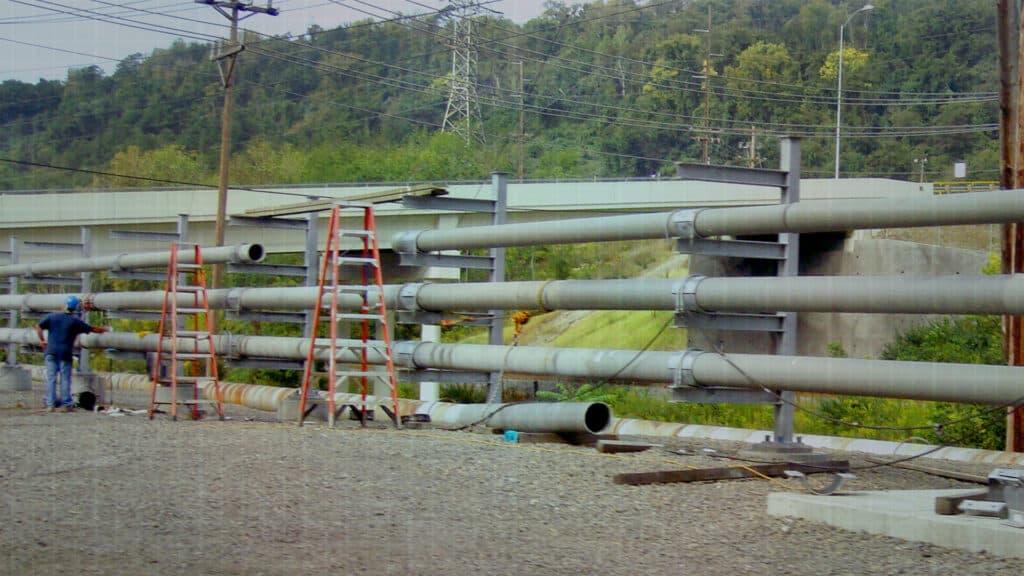
After examination of the completed joints, the final step in ensuring the joints have been properly made is the performance of a hydrotest. ASME B31.1, B31.3, and NM.2 all require piping systems to be tested prior to being put into service. This is usually accomplished with a hydrotest at a pressure of 1.33 to 1.5 times the design pressure for the system. The pressure is held for a minimum of 10 minutes after which the joints must be examined for leaks.

Bonding operations for successful FRP pipe installation are not difficult to do well. But it is necessary to adhere to the steps discussed above to provide assurance that joint issues won’t arise later.

This is the last article in the series. If you have any questions, or if your team would like to arrange a Lunch and Learn with our Engineers, please contact us. 

1 ASME NM.2-2018 “Glass-Fiber-Reinforced Thermosetting-Resin Piping Systems”

Previous article in the series: Considerations for Proper Support of FRP Piping

See Resources to learn more about choosing FRP and dual laminate as your material of construction.